
Headstock Inlay
Jun/09/14 10:24
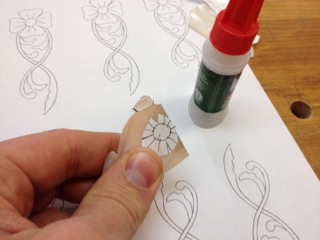
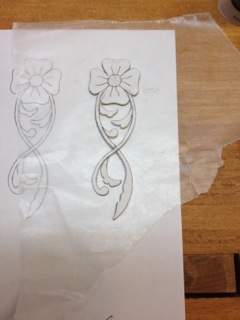
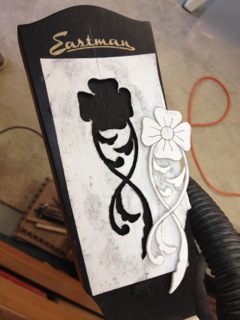
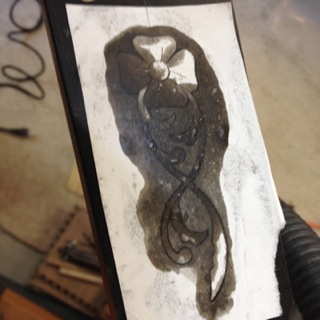
On to the headstock inlay. After I’ve made a bunch of copies of the design, I carefully select the pearl. For this I’m using white Mother of Pearl for everything except the center of the flower, for which I’m using pink mussel shell.
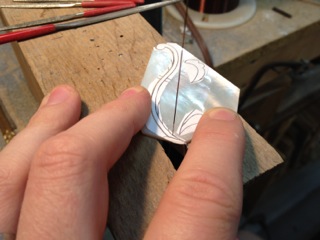
The chatoyance of the pearl, or the way it catches the light, is different from different angles, so it’s important that all the pieces work well with each other. Sometimes I want them all to flash together from a specific viewing angle, and sometimes I want different pieces to light up at different angles.
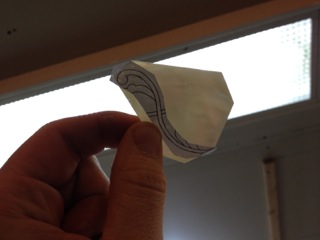
Once I’ve chosen my pieces, I glue the pattern on with some brush-on CA glue. For close fits, I hold the pattern and piece up to a light to make sure the pattern fits completely on the piece.
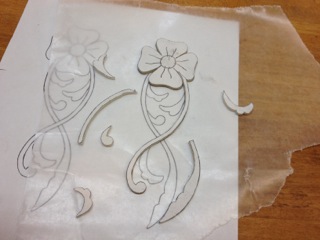
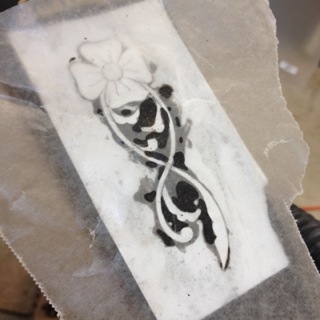
Next I cut out each piece with a jeweler’s saw. Once all the pieces are cut, I lay a piece of wax paper over my pattern and glue them together.

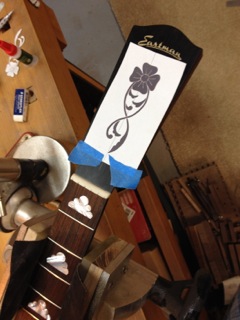
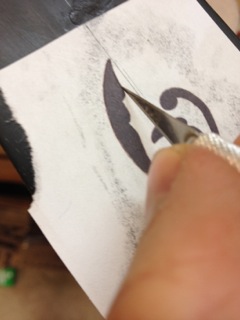
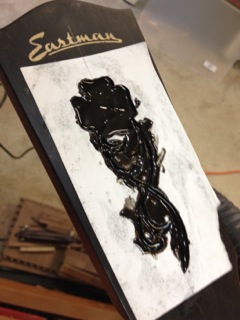
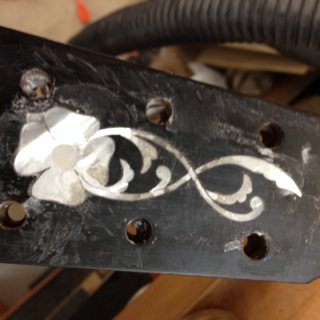
I glue a paper pattern onto the headstock as well. I knife around the design so the paper falls away cleanly as I rout up to the line.
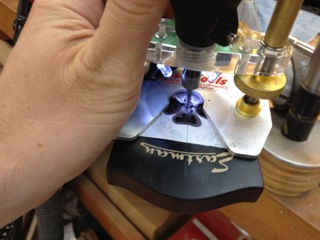
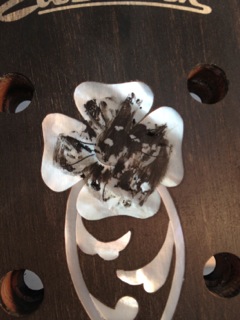
The cavity gets filled with some dyed epoxy, and in she goes.
Some spring clamps give me lots of nice squeeze-out.
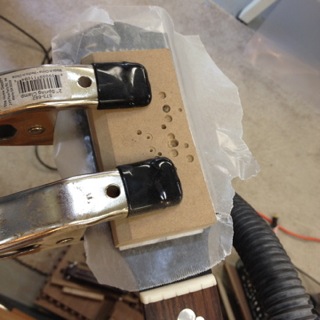
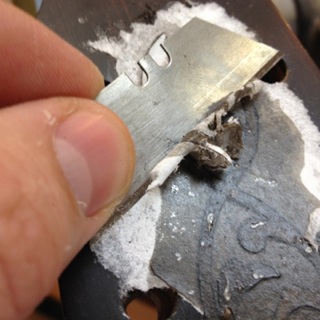
Like with the clouds, I scrape off as much glue as I can before it fully hardens.
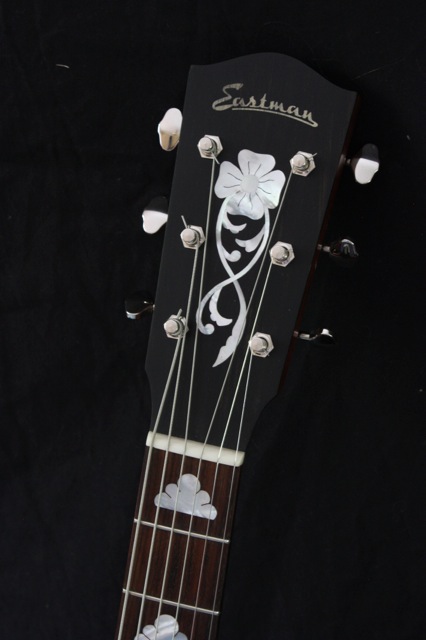
Once everything has been sanded flush and up to the final grit, it’s time for any engraving. The engraving is then rubbed with filler, which is subsequently wiped off.
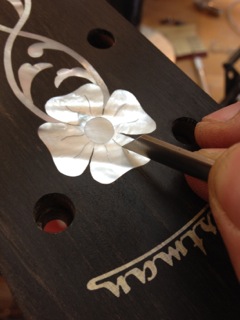
And voila. I really like the way it turned out.
The chatoyance of the pearl, or the way it catches the light, is different from different angles, so it’s important that all the pieces work well with each other. Sometimes I want them all to flash together from a specific viewing angle, and sometimes I want different pieces to light up at different angles.
Once I’ve chosen my pieces, I glue the pattern on with some brush-on CA glue. For close fits, I hold the pattern and piece up to a light to make sure the pattern fits completely on the piece.
Next I cut out each piece with a jeweler’s saw. Once all the pieces are cut, I lay a piece of wax paper over my pattern and glue them together.
I glue a paper pattern onto the headstock as well. I knife around the design so the paper falls away cleanly as I rout up to the line.
The cavity gets filled with some dyed epoxy, and in she goes.
Some spring clamps give me lots of nice squeeze-out.
Like with the clouds, I scrape off as much glue as I can before it fully hardens.
Once everything has been sanded flush and up to the final grit, it’s time for any engraving. The engraving is then rubbed with filler, which is subsequently wiped off.
And voila. I really like the way it turned out.