
Building Neptune
May/20/14 11:21
This one’s from a few years ago, while I was still in Denver. A good friend and client of mine (we’ll call him “Brandon”) commissioned a totally custom build with some very specific ideas in mind. He even designed his own body shape. Normally I don’t let people do that, but Brandon is a great guy, and his design was pretty great too, so what the hell. Here are some pictures of the process that have been sitting on my ‘puter for several years now.
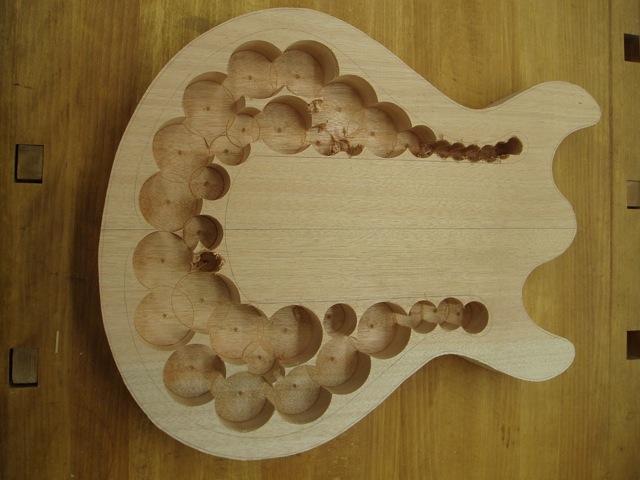
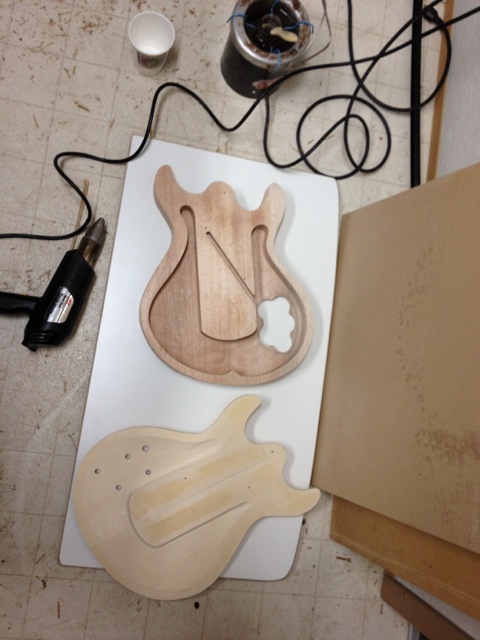
This is the body with the chamber hogged out by various sized forester bits:
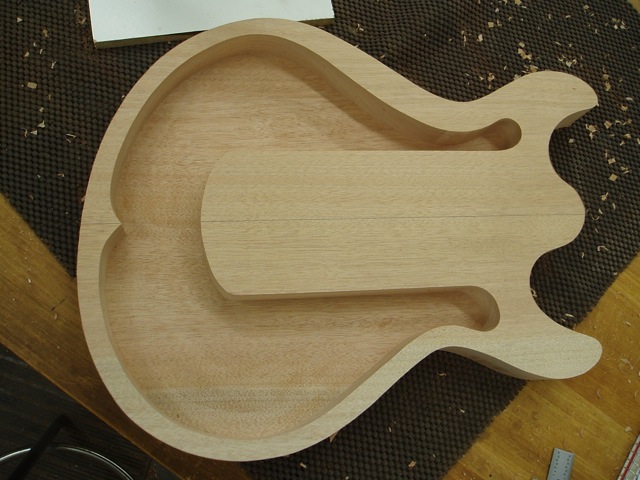
And after cleaning it up with the router:
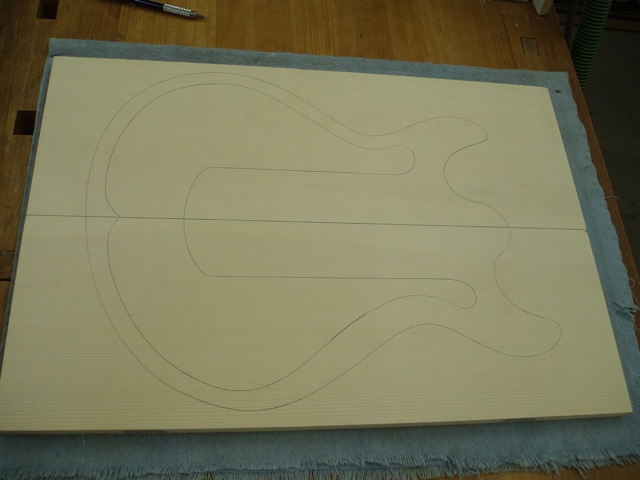
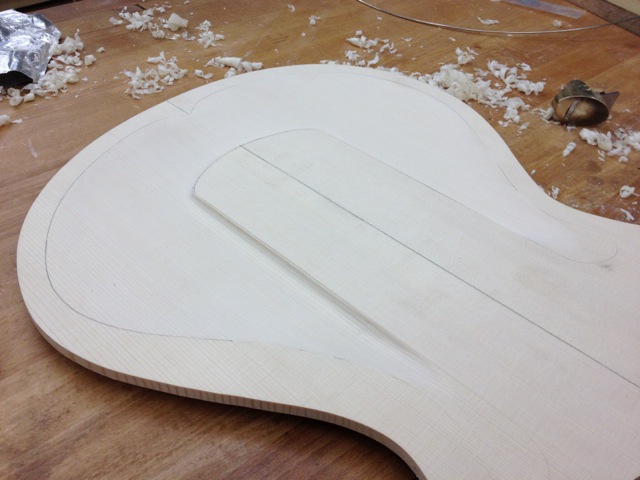
And the gorgeous German Spruce top with layout lines for carving the inside:
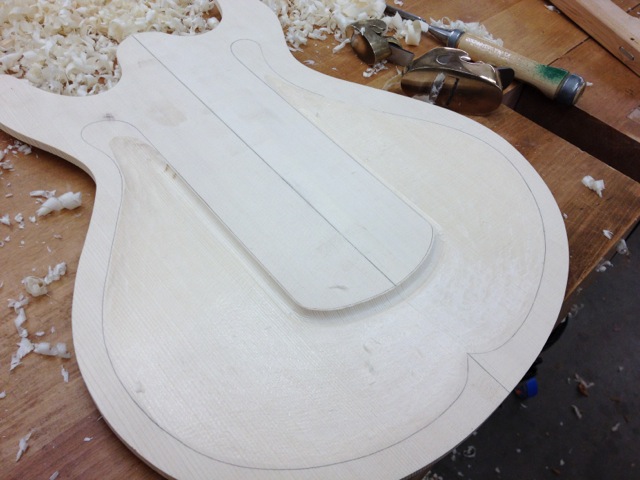
Carving the inside. This takes quite a while. I establish the innermost carve with a router, and then carve the rest out with finger planes, carving tools, and scrapers.
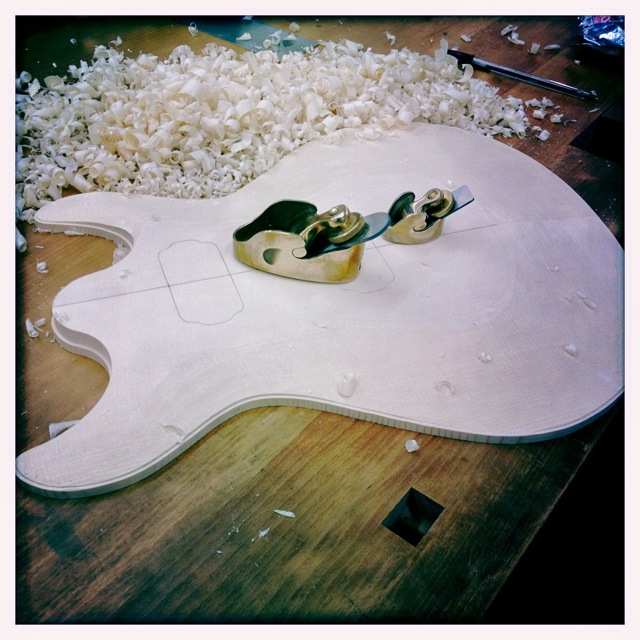
Carving the outside as well. That spruce was a dream to work with. A dream, I tell you.
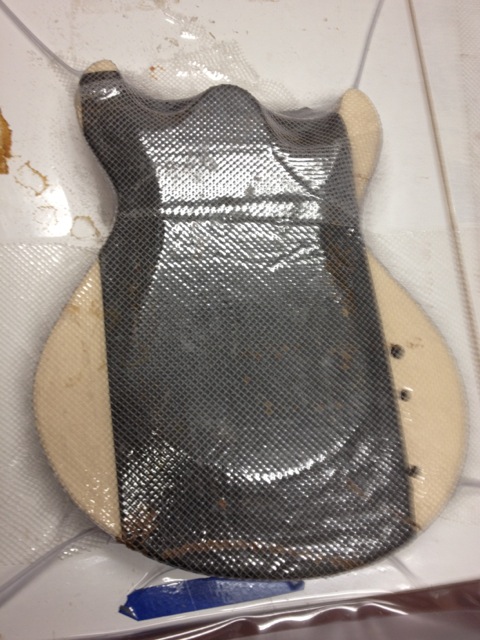
Getting ready to glue the top on with some hot hide glue. The heat gun is to get the wood nice and warm to give me some extra assembly time.
Into the vacuum bag it goes.
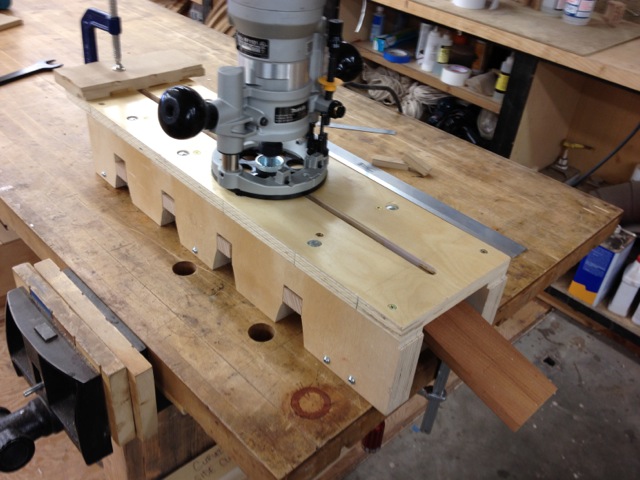
On to the neck. This is my truss rod routing jig. The top of the jig is flat, but the neck itself is clamped into a curve, so the resulting channel is curved as well.
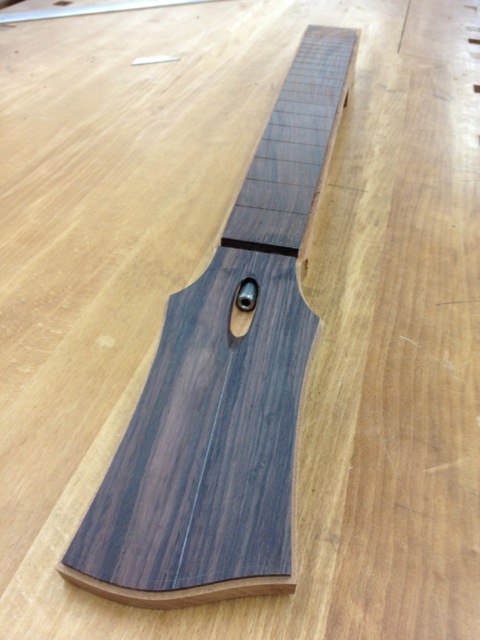
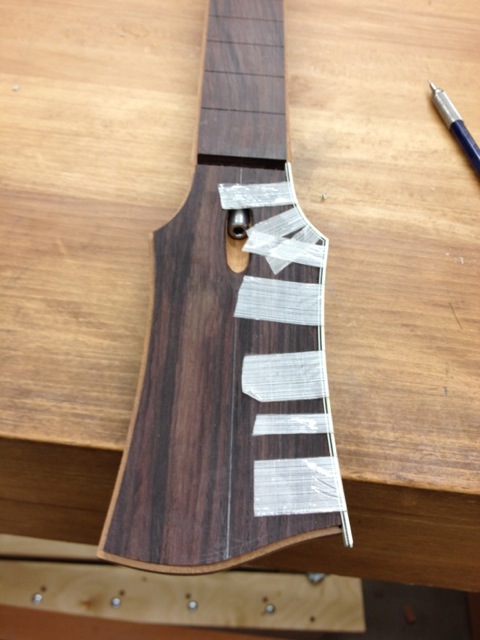
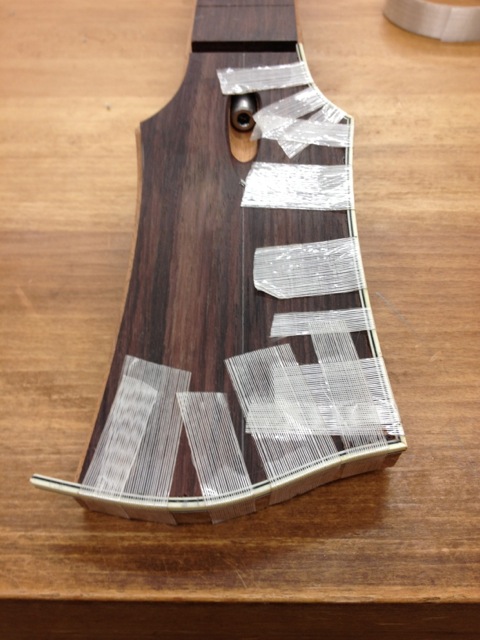
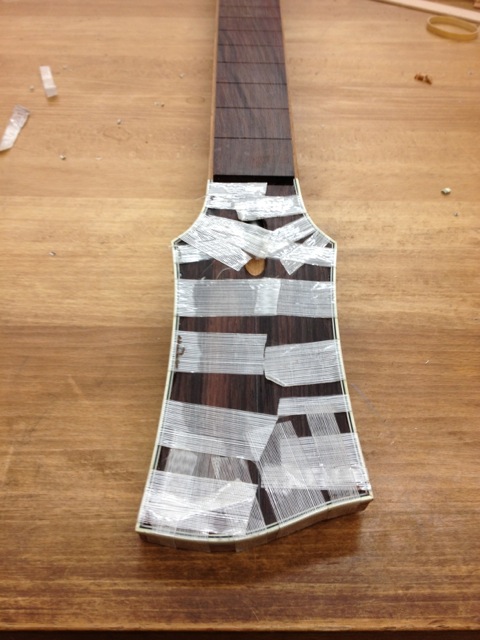
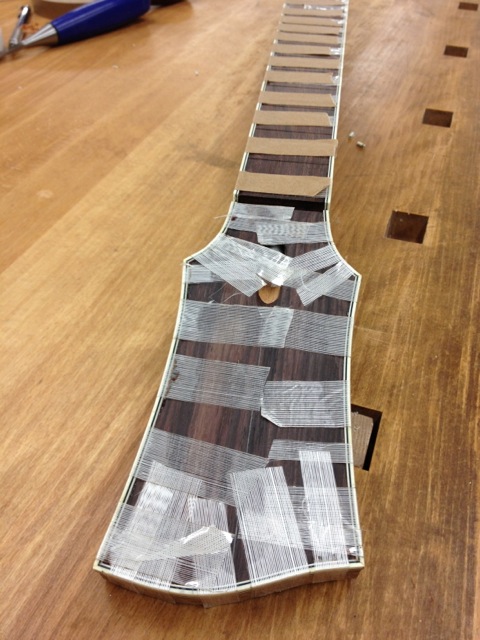
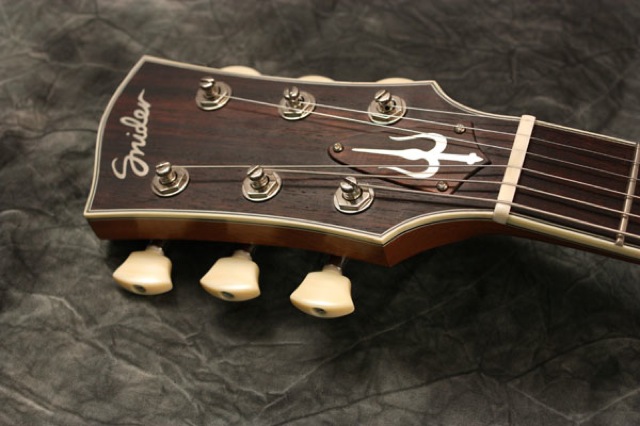
Here’s the headstock and fingerboard getting ready for binding:
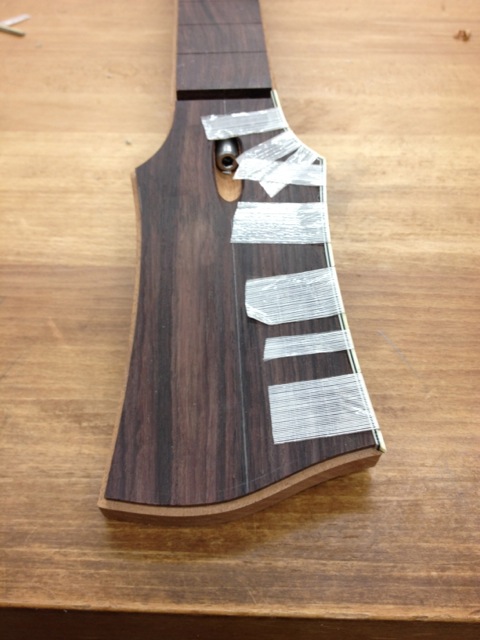
One piece at a time. I use CA glue for this. I’ve found it’s much stronger than any of the other glues commonly used for this.
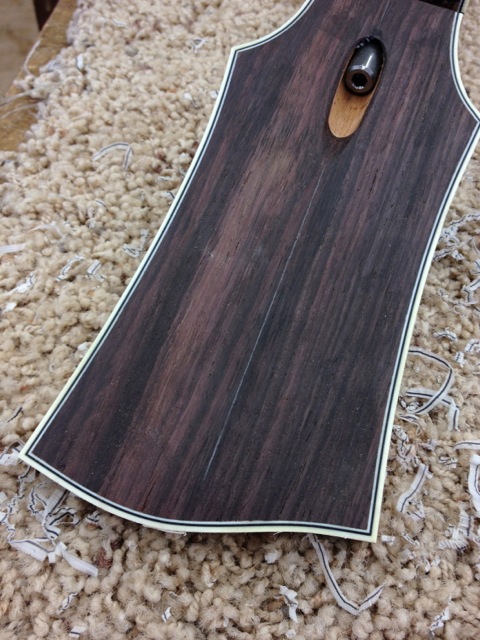
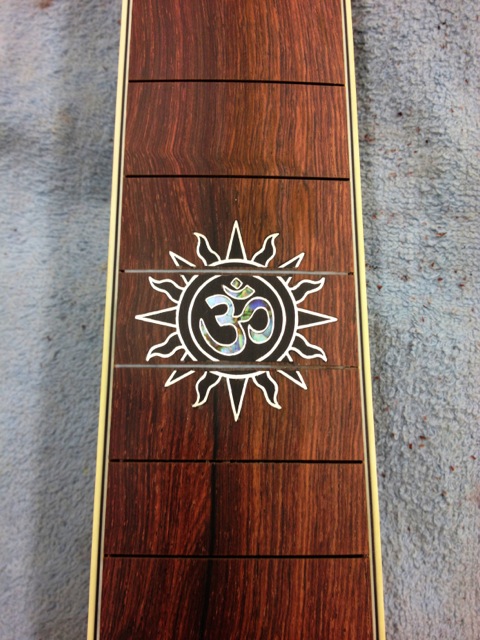
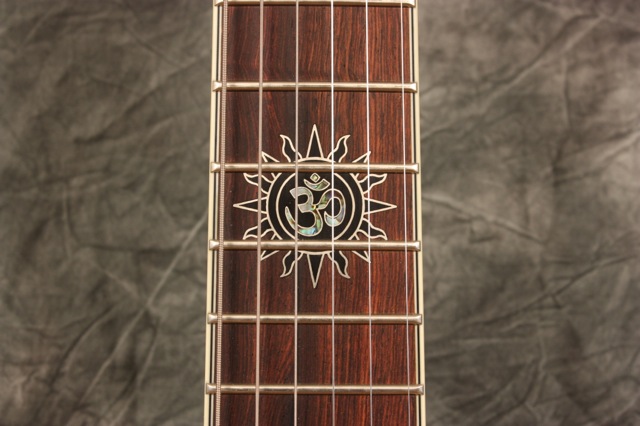
Skipping ahead to the inlay on some nice BRW. I guess I didn’t take any shots of working on the inlay….
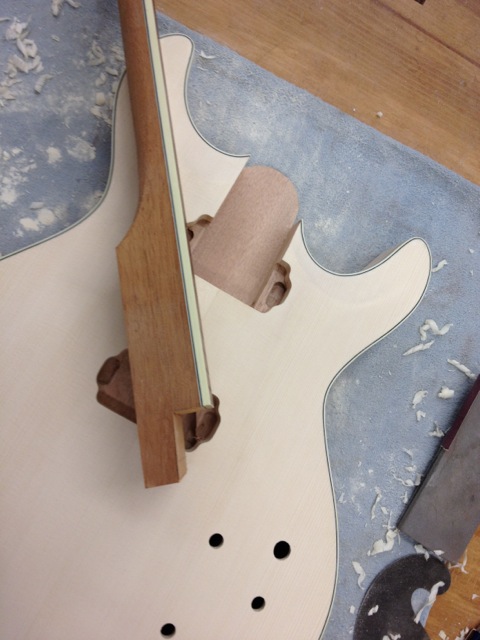
Getting a nice fit on the neck joint. There’s a whole lotta tenon in there.
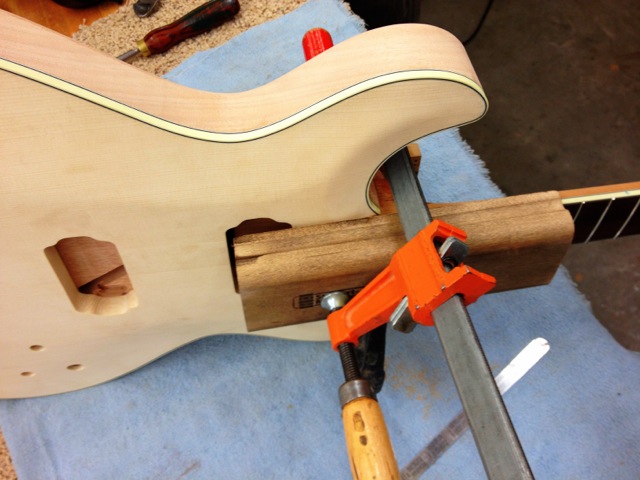
And gluing it in with some more hot hide glue:
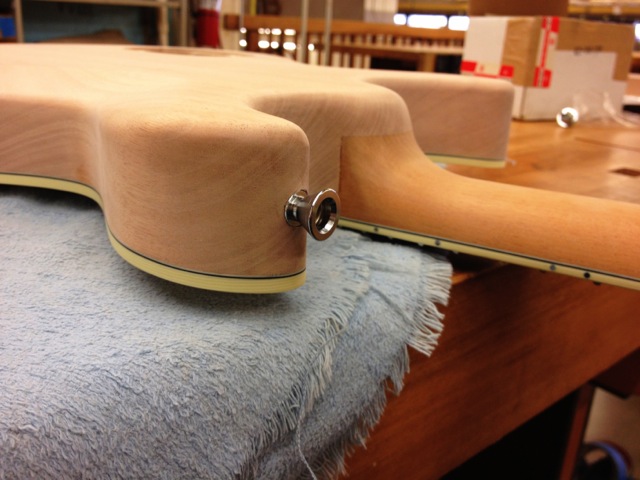
Shaping the heel to Brandon’s specifications:
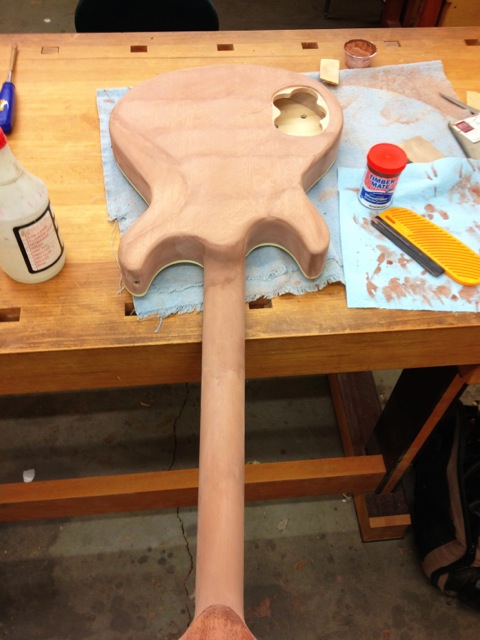
Pore filling. Not my favorite part of the process. But more fun than sanding.
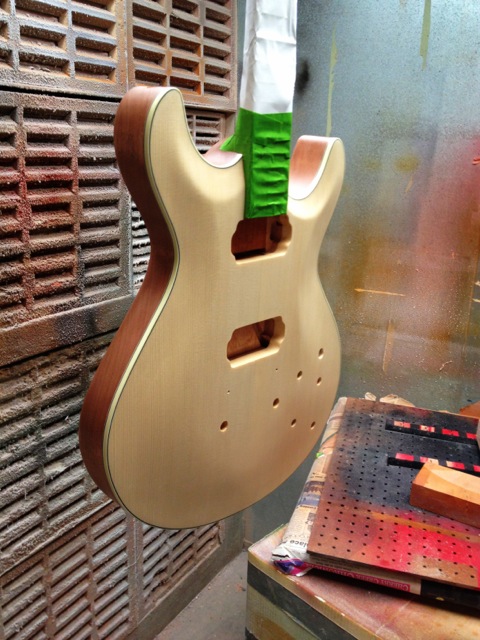
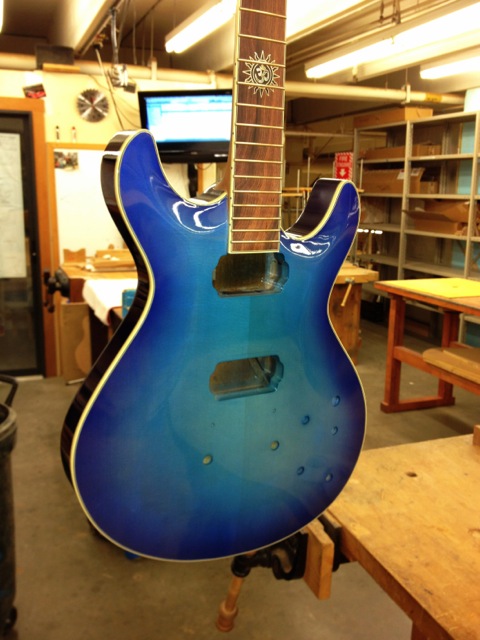
Fast forward a little, and she’s in the booth getting a seal coat:
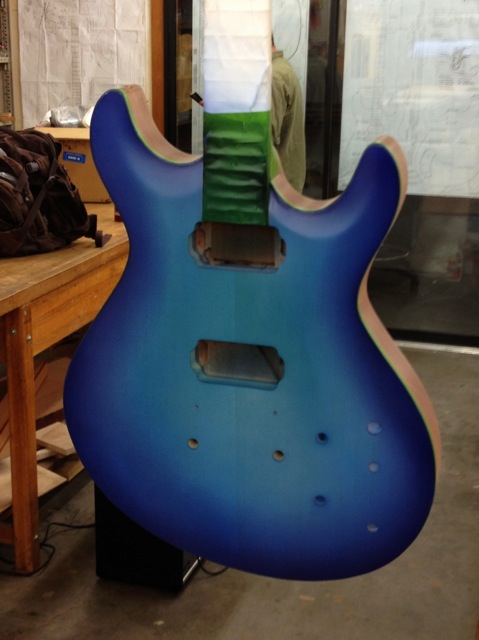
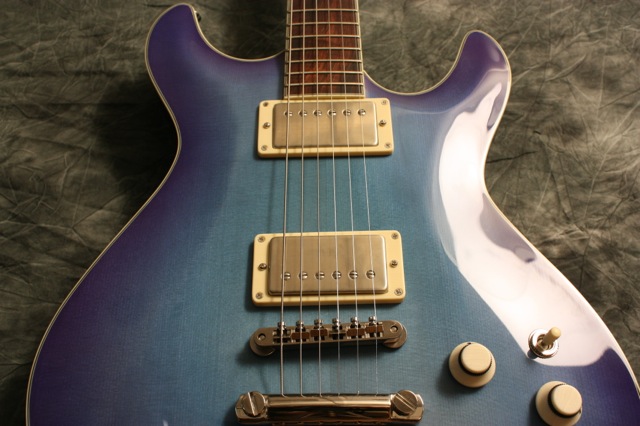
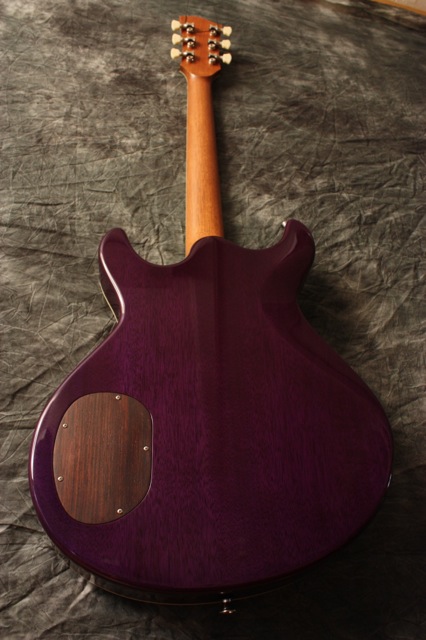
And some color. It’s actually really hard to capture this color. There’s definitely some purple around the edge of the top.
And some more color
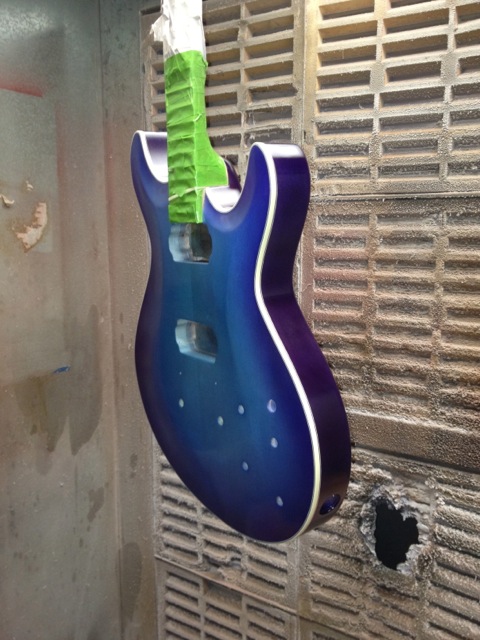
And some clear coats
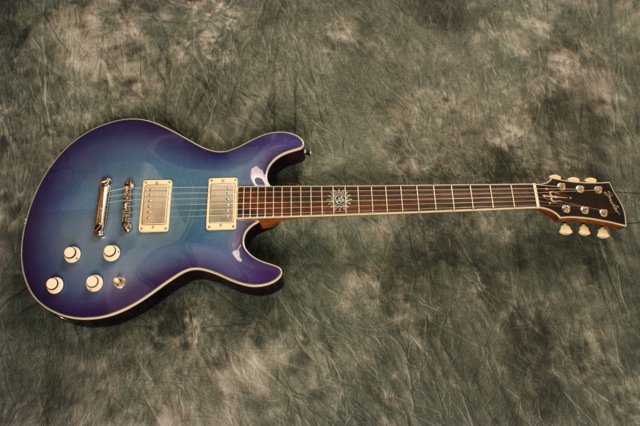
Fast forward again past a lot of wet sanding and buffing and assembly
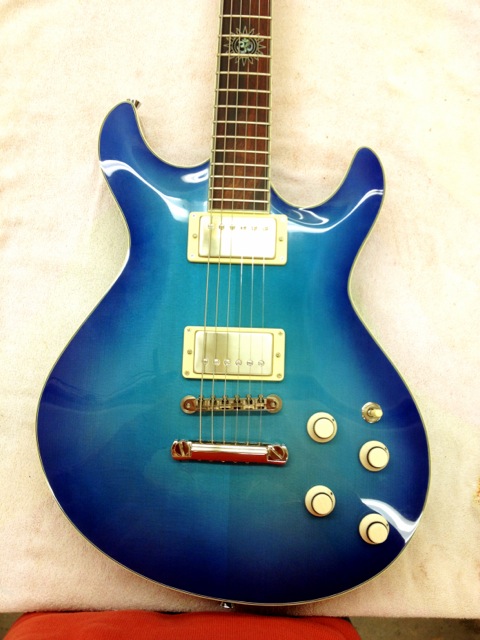
Turned out pretty nicely, I’d say.
This is the body with the chamber hogged out by various sized forester bits:
And after cleaning it up with the router:
And the gorgeous German Spruce top with layout lines for carving the inside:
Carving the inside. This takes quite a while. I establish the innermost carve with a router, and then carve the rest out with finger planes, carving tools, and scrapers.
Carving the outside as well. That spruce was a dream to work with. A dream, I tell you.
Getting ready to glue the top on with some hot hide glue. The heat gun is to get the wood nice and warm to give me some extra assembly time.
Into the vacuum bag it goes.
On to the neck. This is my truss rod routing jig. The top of the jig is flat, but the neck itself is clamped into a curve, so the resulting channel is curved as well.
Here’s the headstock and fingerboard getting ready for binding:
One piece at a time. I use CA glue for this. I’ve found it’s much stronger than any of the other glues commonly used for this.
Skipping ahead to the inlay on some nice BRW. I guess I didn’t take any shots of working on the inlay….
Getting a nice fit on the neck joint. There’s a whole lotta tenon in there.
And gluing it in with some more hot hide glue:
Shaping the heel to Brandon’s specifications:
Pore filling. Not my favorite part of the process. But more fun than sanding.
Fast forward a little, and she’s in the booth getting a seal coat:
And some color. It’s actually really hard to capture this color. There’s definitely some purple around the edge of the top.
And some more color
And some clear coats
Fast forward again past a lot of wet sanding and buffing and assembly
Turned out pretty nicely, I’d say.